הבית לבובות דיגום ותצוגה
Long Sleeve Board on Wooden Stand – 56 cm, Blue Cover
In stock
SKU: 10362
Product description
Long sleeve board: a whole sleeve without moving the garment
A long sleeve board is a narrow padded pressing surface, about 56 cm long, raised above a wooden base. This length covers almost the entire sleeve of an adult's shirt or jacket, from the shoulder to the cuff, and also a long section of a trouser leg. You slide the sleeve onto the board, press only the top layer, and the underside of the garment stays hanging and isn't crushed. This way the sleeve comes out smooth, without the sharp crease line that forms when you press a flat sleeve on a regular ironing board.
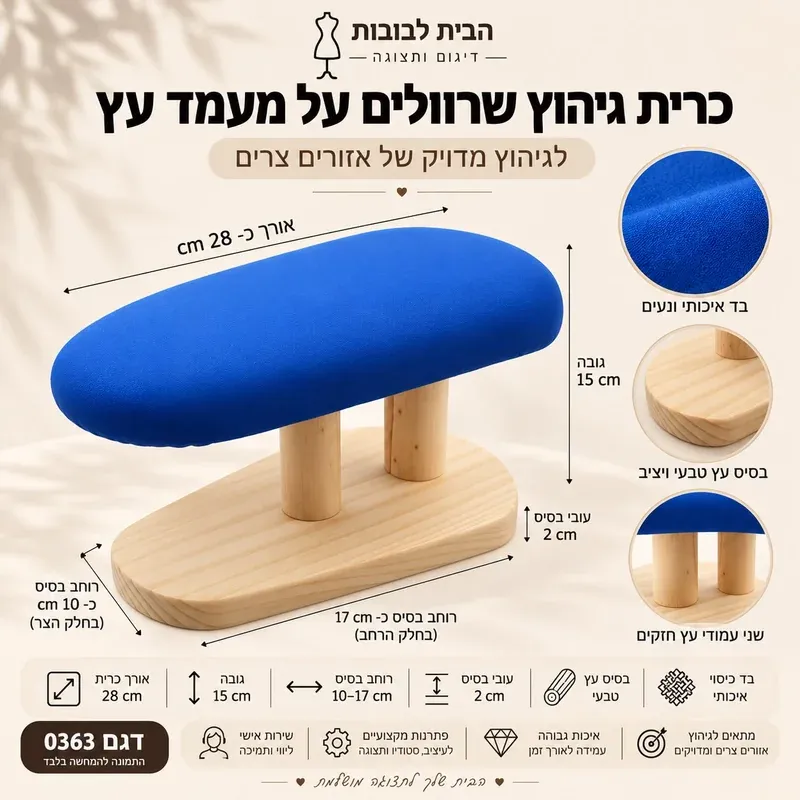
The board sits on two wooden posts attached to a 2 cm thick natural wood base, and the total height is 15 cm. A gap remains between the board and the base, and the lower part of the sleeve goes into it while you work. The base narrows from a width of about 11.5 cm on one side to about 7 cm on the other, so it takes up little space on the sewing table or on a regular ironing board.
The board is covered with quality, pleasant fabric in blue. Its end is rounded, so you can get into narrow openings and press curved seams without leaving a corner mark on the fabric.
How this model differs from our other pressing pads
Long sleeve board (the model on this page): About 56 cm long and 15 cm high. Intended for long sleeves, narrow trouser legs and long hems, where you want to press a long section in one go.
Compact sleeve board on two posts: About 28 cm long at the same height. Takes up half the space and suits cuffs, sleeve ends, collars and children's garments.
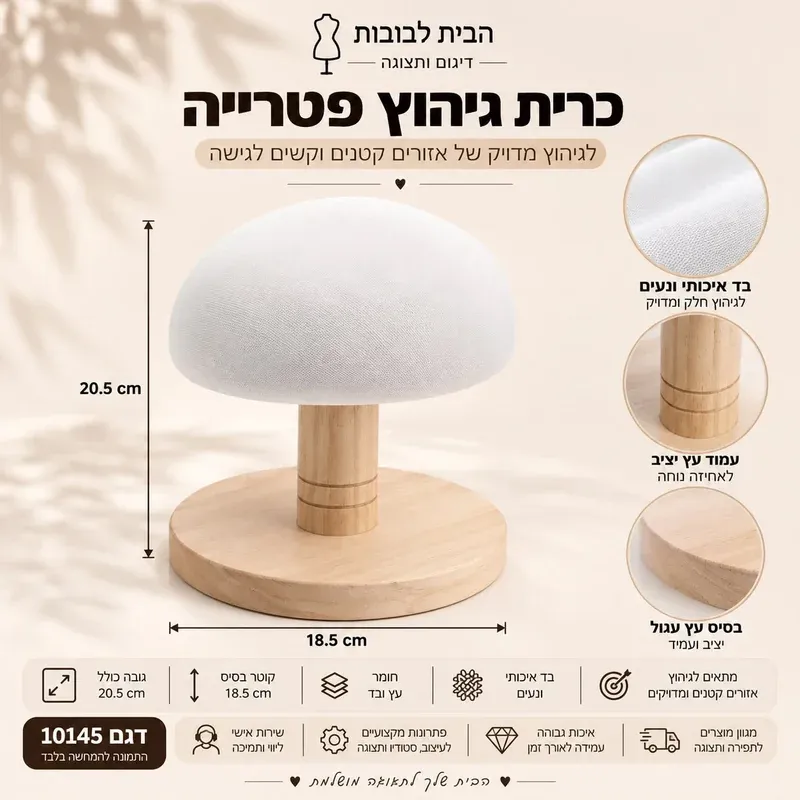
Universal pressing pad on a tall stand: A padded cylinder 21 cm long on a wooden stand 40 cm high, with an open end, for sleeve caps, shoulders and small, rounded areas.
Common uses
Pressing long sleeves of shirts, dresses and jackets, without a crease line along the sleeve
Pressing open the sleeve seam along its full length after sewing
Narrow trouser legs, hems and side seams
Length alterations: pressing a new hem in a sleeve or trouser leg before and after sewing
Sleeves of evening and bridal gowns in delicate fabrics, where a crease line is a visible flaw
Quick pressing of button-up shirt sleeves without setting up a full ironing board
Who the board is for
Seamstresses and designers: For pressing while sewing, next to the machine
Tailors and clothing repairers: For length and sleeve alterations, where the final press determines how the garment looks when the customer collects it
Evening and bridal gown studios: For long sleeves in delicate fabrics
Fashion design schools and sewing classes: Equipment for every work station; for bulk orders you can contact us
Clothing stores: For straightening sleeves before hanging on display
Home use: For anyone who irons shirts regularly and wants smooth sleeves
Professional tips for pressing on a long sleeve board
Start with the seam: Turn the sleeve so the seam is on top, press it open with the tip of the iron, and only then press the rest of the circumference.
Rotate, don't fold: After each strip, rotate the sleeve around the board and continue, until you've covered the whole circumference.
Press lengthwise: From the shoulder toward the cuff, along the grain of the fabric, so you don't stretch the sleeve crosswise.
A pressing cloth for delicate fabrics: With dark fabrics, satin and wool, place a thin pressing cloth between the iron and the garment, so no shine remains.
Let the fabric cool on the board: Hot fabric still changes shape, so leave it in place for a few seconds after pressing.
Aim the steam at the board: And not at the base and the posts, and wipe water drops off the wood at the end of the work.
Common mistakes and how to avoid them
Pressing a flat sleeve on a regular board: Both layers are pressed together and a line forms along the sleeve. On the sleeve board you press one layer at a time.
A short board for a long sleeve: You have to move the sleeve again and again, and each move risks a new crease. For a whole sleeve, a length of about 56 cm is more comfortable.
An iron that stays in place: On a narrow padded surface the pressure concentrates and may leave a mark or a shine. Keep the iron moving.
The base at the edge of the table: Put the whole base on a flat surface, so the board doesn't move while you press.
Pressing delicate fabric from the visible side: With delicate fabrics, press from the inside of the garment.
Images are for illustration only; slight color differences may occur between different screens.
Specifications
Product type: Long sleeve board on a wooden stand
Model: 10362
Brand: HaBayit LaBubot
Pad length: About 56 cm
Total height: 15 cm
Base width: About 7 cm on the narrow side, about 11.5 cm on the wide side
Base thickness: 2 cm
Construction: Padded board on two wooden posts
Pad end: Rounded
Base and post material: Natural wood
Cover: Quality fabric
Cover color: Blue
Sold as: Per unit
Frequently asked questions
Frequently asked questions
What are the dimensions of the long sleeve pressing pad?
The pad is about 56 cm long and the total height is 15 cm. The wooden base is 2 cm thick, and its width varies from about 7 cm at the narrow end to about 11.5 cm at the wide end.
What length of sleeve pressing pad should I choose?
For an adult's long sleeve or a pant leg, a pad of about 56 cm lets you press almost the entire length without moving the garment. For cuffs, collars and children's clothes, a pad of about 28 cm is enough, and takes up less space.
How do I press a sleeve on a pressing pad without creating a fold line?
Slip the sleeve onto the pad so that only the top layer rests on the surface, press a strip along its length, rotate the sleeve and continue until you have gone around the whole circumference. The two layers are not pressed together, so no line forms.
What is the pressing pad made of?
The base and the two posts are made of natural wood, and the padded pad is covered with a quality, pleasant fabric in blue, with a rounded end.
Can I also press pants on the pad?
Yes. Narrow pant legs, hems and side seams are pressed the same way as a sleeve. With wide pants, press the leg in strips and rotate it around the pad.
Can I iron on the pad with steam?
Yes. Press with steam and leave the sleeve on the pad until it cools slightly, so the fabric does not wrinkle again when you move it.
Is the pad suitable for children's clothes?
Yes. Narrow sleeves and legs of children's clothes go onto the pad easily, and you press them without a crease line.
Where do I place the pad while working?
On a table or on an ironing board. The wooden stand lifts the pad above the surface, so the sleeve fits around it easily.
How do you care for the blue cover?
Press only clean, dry garments, clean the iron's soleplate of starch residue, and use a pressing cloth when working with fusible interfacing.
Can I order several pads for a studio or a sewing school?
Yes. For bulk orders you can contact us.